What is the best way to apply polyurethane to floors?
This is a subtitle for your new post
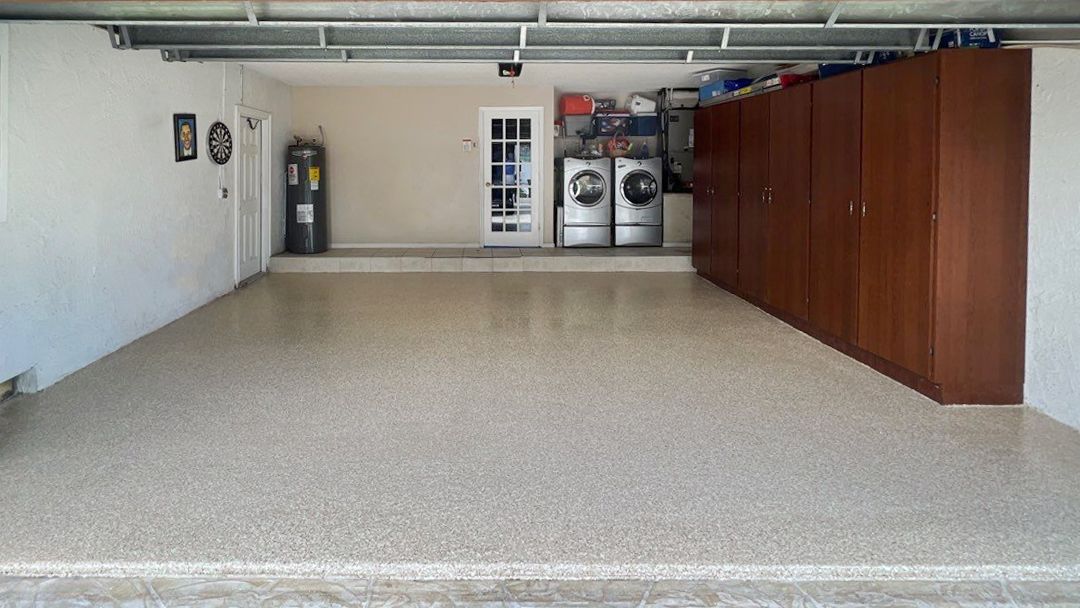
Applying polyurethane to floors requires careful preparation and application to ensure a smooth, durable, and attractive finish. Here are the general steps for applying polyurethane to floors:
### Materials and Tools:
- Polyurethane finish (water-based or oil-based, depending on preference)
- Stir stick
- Quality synthetic bristle brush, foam brush, or lambswool applicator
- Floor applicator or mop
- Fine-grit sandpaper (220-grit or higher)
- Tack cloth
- Painter's tape
- Drop cloths or plastic sheeting
- Ventilation mask and safety glasses
### Steps:
**1. Prepare the Surface:**
- Ensure that the floor is clean, dry, and free of dust, dirt, and debris.
- If the floor has been previously finished, sand it lightly with fine-grit sandpaper to create a smooth surface for the new polyurethane. Be sure to sand along the grain of the wood.
- Clean the floor thoroughly after sanding to remove any dust or particles.
**2. Ventilation and Safety:**
- Adequate ventilation is crucial when working with polyurethane. Open windows and doors, and use fans to ensure good airflow.
- Wear a ventilation mask and safety glasses to protect yourself from fumes and particles.
**3. Tape and Protect:**
- Use painter's tape to mask off areas that you do not want to be coated with polyurethane, such as baseboards or adjacent rooms.
- Cover furniture and other items in the room with drop cloths or plastic sheeting to protect them from drips and splatters.
**4. Stir the Polyurethane:**
- Thoroughly stir the polyurethane with a stir stick to ensure even distribution of particles and additives.
**5. Choose Your Applicator:**
- Select a suitable applicator for applying the polyurethane. Options include a quality synthetic bristle brush, foam brush, lambswool applicator, or a floor applicator/mop.
**6. Apply the Polyurethane:**
- Dip the applicator into the polyurethane, allowing it to absorb the finish. Do not oversaturate the applicator.
- Apply the polyurethane in long, even strokes, following the grain of the wood. Work from one side of the room to the other, keeping a wet edge to avoid lap marks.
- Avoid over-brushing, as it can create bubbles or streaks in the finish.
- Allow the first coat to dry according to the manufacturer's instructions.
**7. Sand Between Coats:**
- Lightly sand the first coat with fine-grit sandpaper after it has dried. This helps create a smooth surface for subsequent coats. Clean the floor thoroughly with a tack cloth after sanding.
**8. Apply Additional Coats:**
- Apply additional coats of polyurethane as needed, following the same process. Most floors will require at least two or three coats for optimal durability.
- Sand between each coat for a smooth finish.
**9. Allow for Proper Drying:**
- Allow the final coat to dry completely according to the manufacturer's instructions before allowing foot traffic.
**10. Final Inspection:**
- Inspect the finished floor for any imperfections. Touch up any areas as needed.
Keep in mind that the specific instructions may vary depending on the type and brand of polyurethane you are using. Always refer to the product's label for the manufacturer's recommended application guidelines and drying times.

